- Home
- Throwing Videos
- Pottery Clay
Step 1
How to Prepare Pottery Clay
For Throwing on the Wheel
It is crucial to start off with great clay each time you make a pottery clay pot.
Learn these easy techniques for preparing clay and you'll save yourself tons of time and energy.
Did you purchase your clay? If so, it is pretty much ready to use.
Clay companies have carefully formulated clay recipes. They process the clay using a pug mill so the prep work is done for you.
Many potters, including myself, will use store-bought clay straight out of the bag.
More meticulous potters will wedge their clay every time regardless of where they get it.
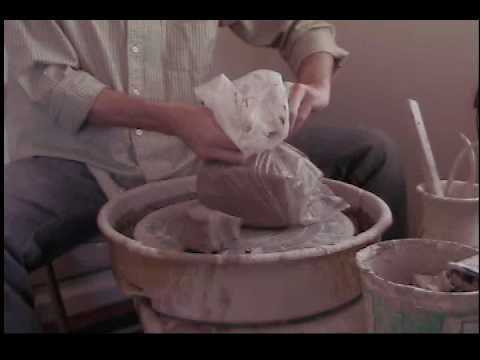
If you make homemade clay, or are refreshing used clay be sure to wedge it thoroughly.
WEDGING- the process of kneading pottery clay to remove air bubbles, mix it to consistency, and align the clay particles to aid in throwing.
Two Wedging Techniques
Table Wedging
Take a ball of clay and slap it down on the table.
Slice it in half with a wire clay cutting tool.
Flip the top half upside down and slap it down hard onto the bottom half.
Repeat this process as many times as it takes until the clay is smooth, consistent, and air bubble free.
Be sure to slap the clay down hard to prevent air from getting trapped between the two pieces.
This is a great opportunity to check the consistency of the clay. Look at the cut surfaces. Run your finger across the surface.
It should be smooth. It should have an even color (dark stripes usually imply dryer areas of clay). It should have no holes caused by air bubbles.
If it isn't perfect, keep wedging. This is the foundation for your beautiful ceramic pot.
Spiral Wedging
This is a much more challenging method, but worth learning.It creates great results for your clay.
Many potters prefer this technique because it lines up the flat, disc-shaped clay particles in a circular motion.
This circular arrangement is perfectly suited to the circular motion of throwing on the wheel.
To spiral wedge think about doing the moon walk, only with clay.
You're pushing the ball forward and downward into the table, while rotating the top of the clay backward toward yourself.
Push down with your right palm, while lifting and rotating backward with the fingers of both hands.
Then rotate the clay back toward you a 1/4 turn and repeat step one. Repeat this process until your clay is consistent.
When done correctly the clay will begin to form a spiral.
You'll find a rhythm of rocking and pressing as you develop your technique.
Once your pottery clay is prepared, you're ready to get on the wheel and move to Step #2,
Before You Go - Are You Frustrated with Throwing on the Wheel?
I've designed a live 2-hour class to finally fix centering struggles, wobbly walls, and collapsing pots.
It's called The Pottery Fix.
In this live Zoom class, I’ll help you:
- Center clay consistently and confidently
- Prevent wobbly, uneven walls
- Stop pots from collapsing mid-throw
- Feel in control and actually enjoy the wheel again
✓ Live teaching + real-time feedback
✓ Replay included
✓ Bonus: free troubleshooting guide (fix the 5 most common beginner mistakes)
✓ Full refund if you don't have a total breakthrough


